Organization Admins
Organization Admin
The Organization Administration dashboard provides a central interface for managing your organization's users, permissions, and hardware resources. You can access this dashboard at https://app.pomelabs.com/organization.
Dashboard Overview
The Organization Administration dashboard is divided into four main sections:
-
Organization Administration Header: Displays the total number of users and provides a quick access button to add new students.
-
Staff & Professors: Manage administrative and teaching staff.
-
Students: Manage student access and permissions.
-
PomeConnect Kits: Manage hardware inventory.
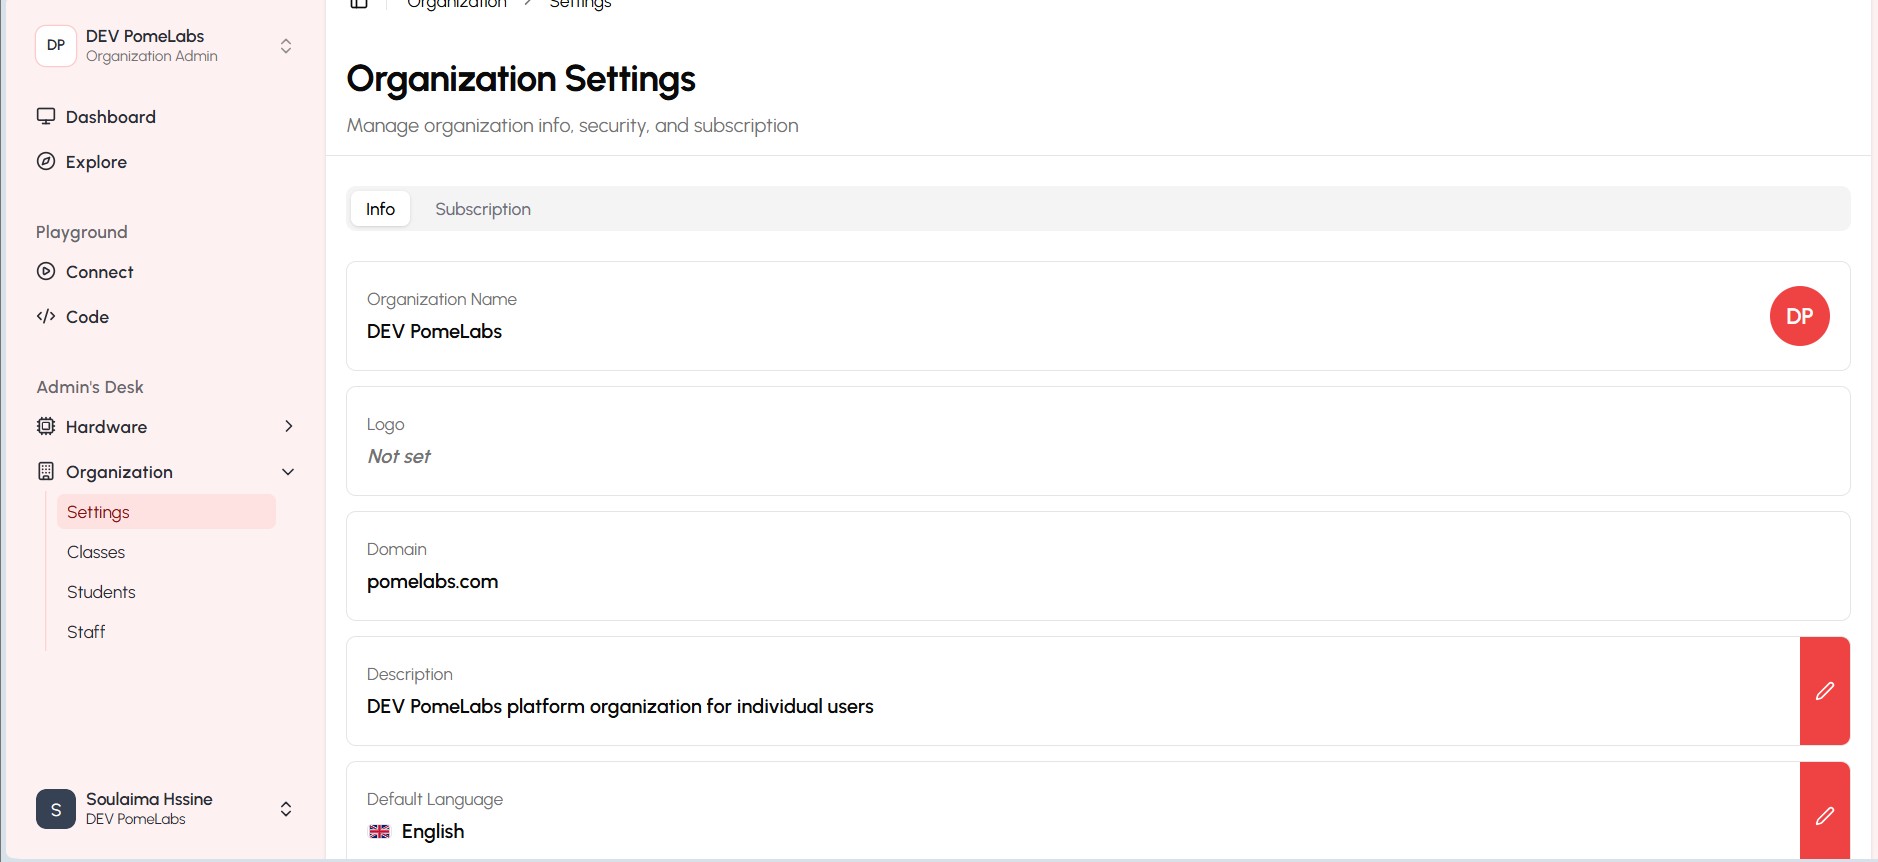
organization settings
The settings allow you to manage organization info, security, and subscription details. You can update your organization's name, description, logo and domain
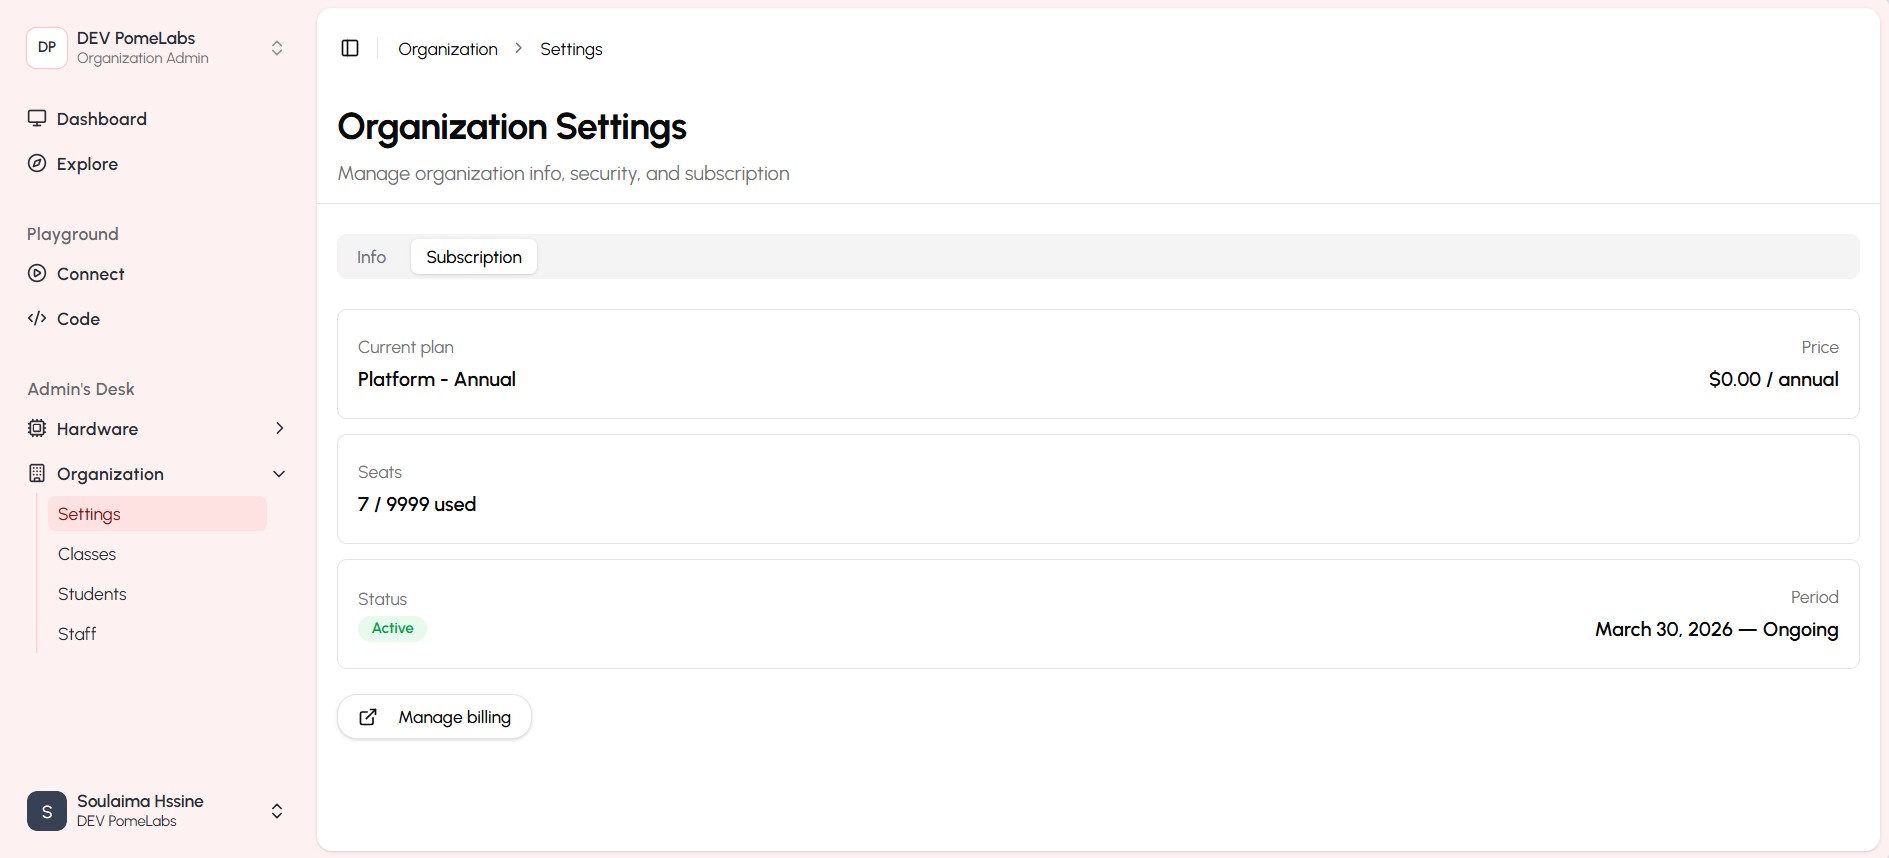
The subscription section provides an overview of your current plan, billing information, and allows you to upgrade or modify your subscription as needed.
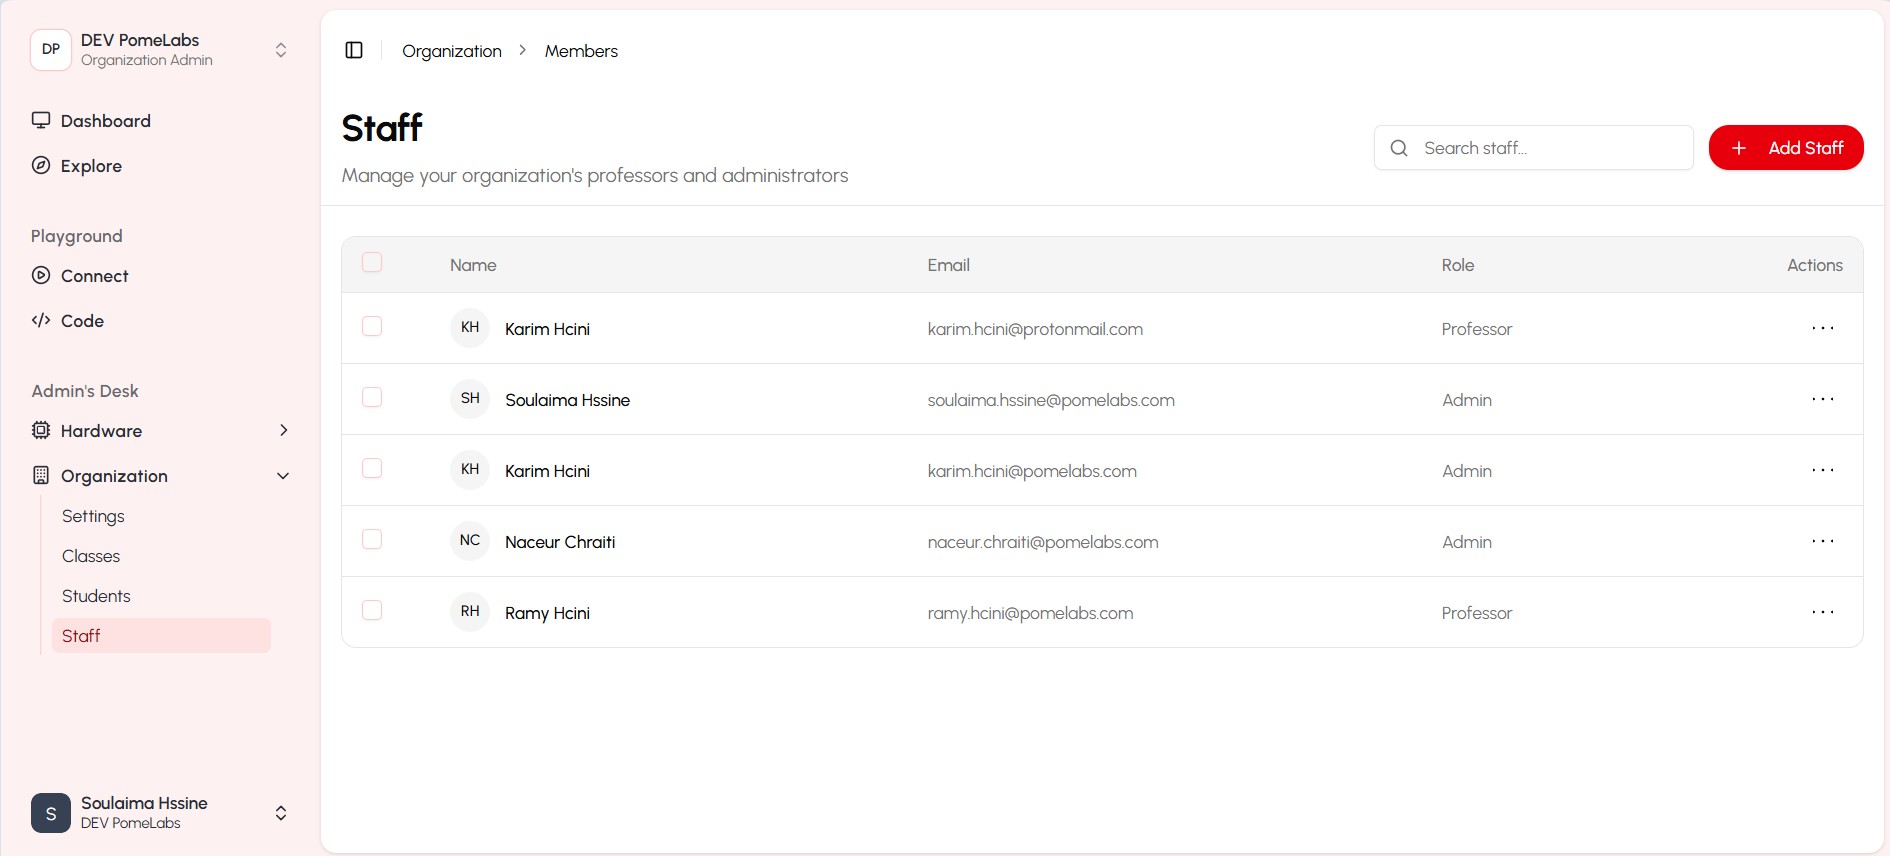
Staff & Professors Section
This section allows you to view and manage all administrative and teaching staff members.
The table includes the following columns:
- Name: Staff member's full name
- Email: Staff member's email address
- Role: Assigned roles (professor, admin)
- Status: Current account status (Active/Inactive)
- Actions: Menu for additional actions
Adding a staff member
To add a staff member, click on the "Add New Staff" button located at the top right corner of the Staff & Professors section.
In the "Add New Staff" dialog box that appears:
-
Fill in the following details:
- Email: Enter the staff member's email address
- Username: Create a unique username for the staff member
- First Name: Enter the staff member's first name
- Last Name: Enter the staff member's last name
-
Select the appropriate groups:
- Organization Admin: Check this box to grant administrative privileges
- Professor: Check this box if the staff member will be teaching courses
- Note: Users can belong to multiple groups
-
Click the "Add User" button to complete the process and add the new staff member.

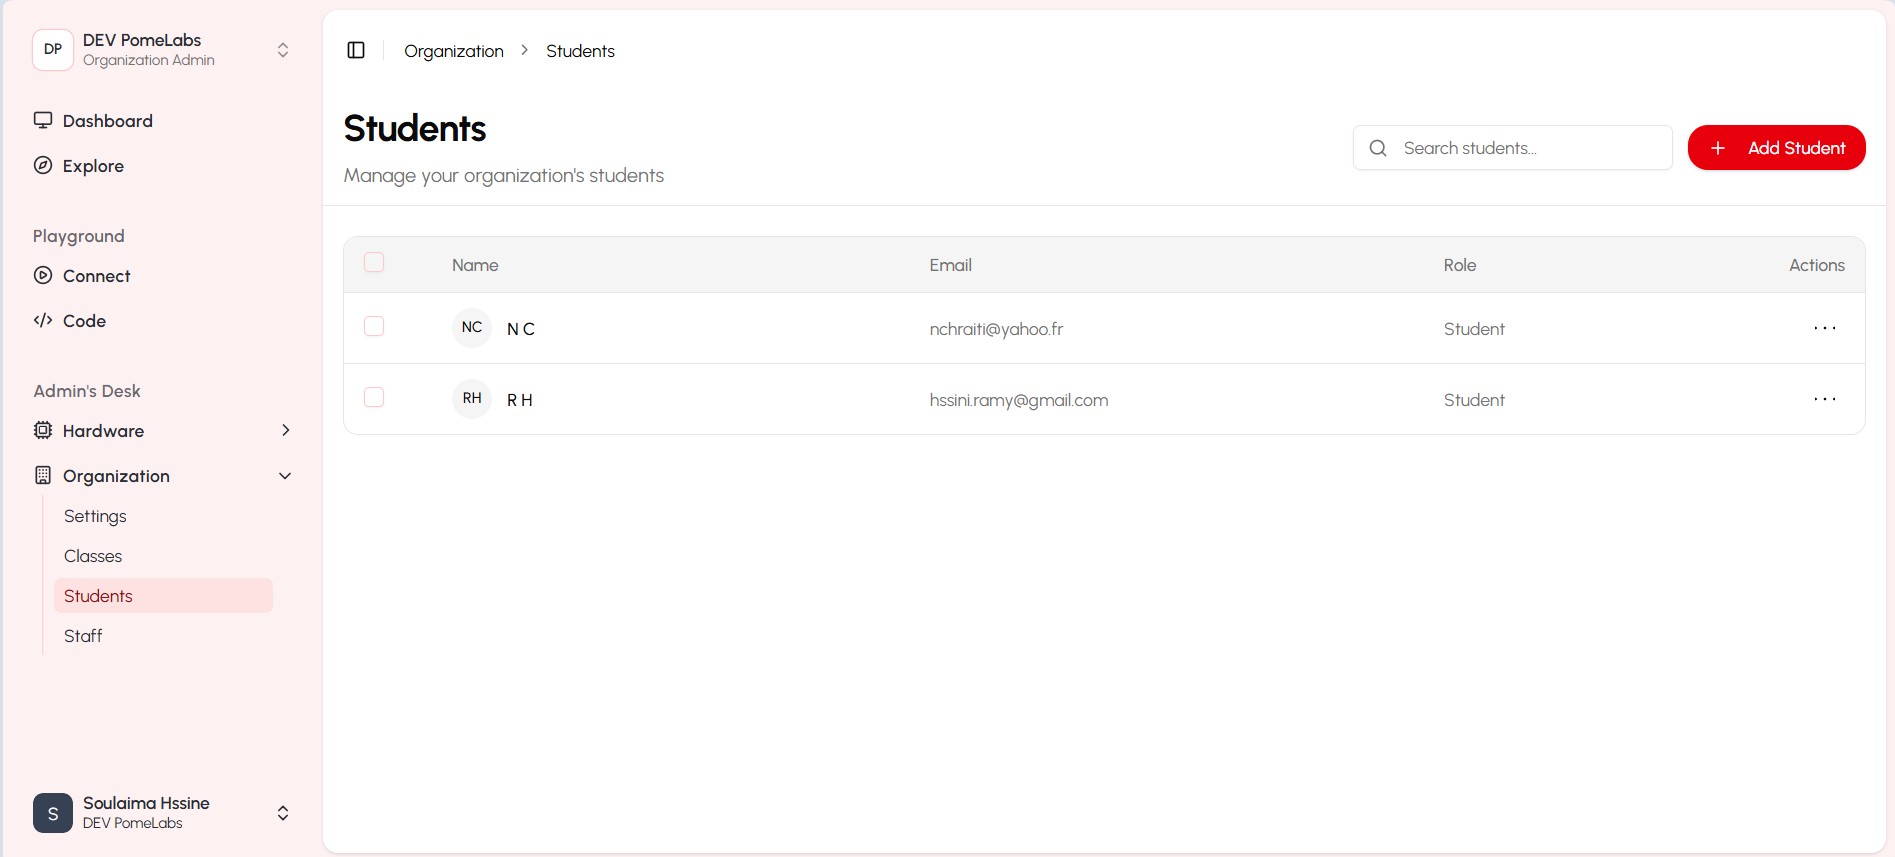
Students Section
This section allows you to view and manage all student accounts.
The table includes the following columns:
- Name: Student's full name
- Email: Student's email address
- Role: Student
- Actions: Menu for additional actions
Adding a student
To add a new student, click on the "Add New Student" button located at the top right corner of the Students section.
In the "Add New Student" dialog box that appears:
- Fill in the following details:
- Email: Enter the student's email address
- Username: Create a unique username for the student
- First Name: Enter the student's first name
- Last Name: Enter the student's last name

classes section
This section allows you to manage your classes, including creating new classes, assigning students and professors to classes, and managing class details.
The table includes the following columns:
- Class Name: the name of the class to be able to identify it
- Year: school year of the class
- Students number: the total number of students number in that class
- Actions: Menu for additional actions

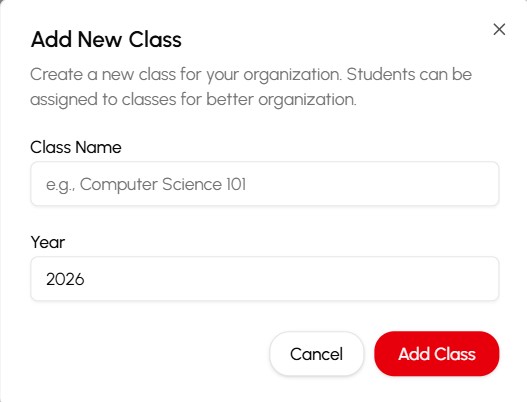
creating new classes
To create a new class, click on the "Add New Class" button located at the top right corner of the Classes section.
In the "Add New Student" dialog box that appears:
- Fill in the following details:
- class Name: Enter the name of the class you wanna add
- Year: Enter the school year of the class
PomeConnect Kits Section
This section allows you to manage your hardware inventory. it includes two features:
- Hardware Overview: View all the kits avalable in your inventory, including details such as kit name, quantity, and status.
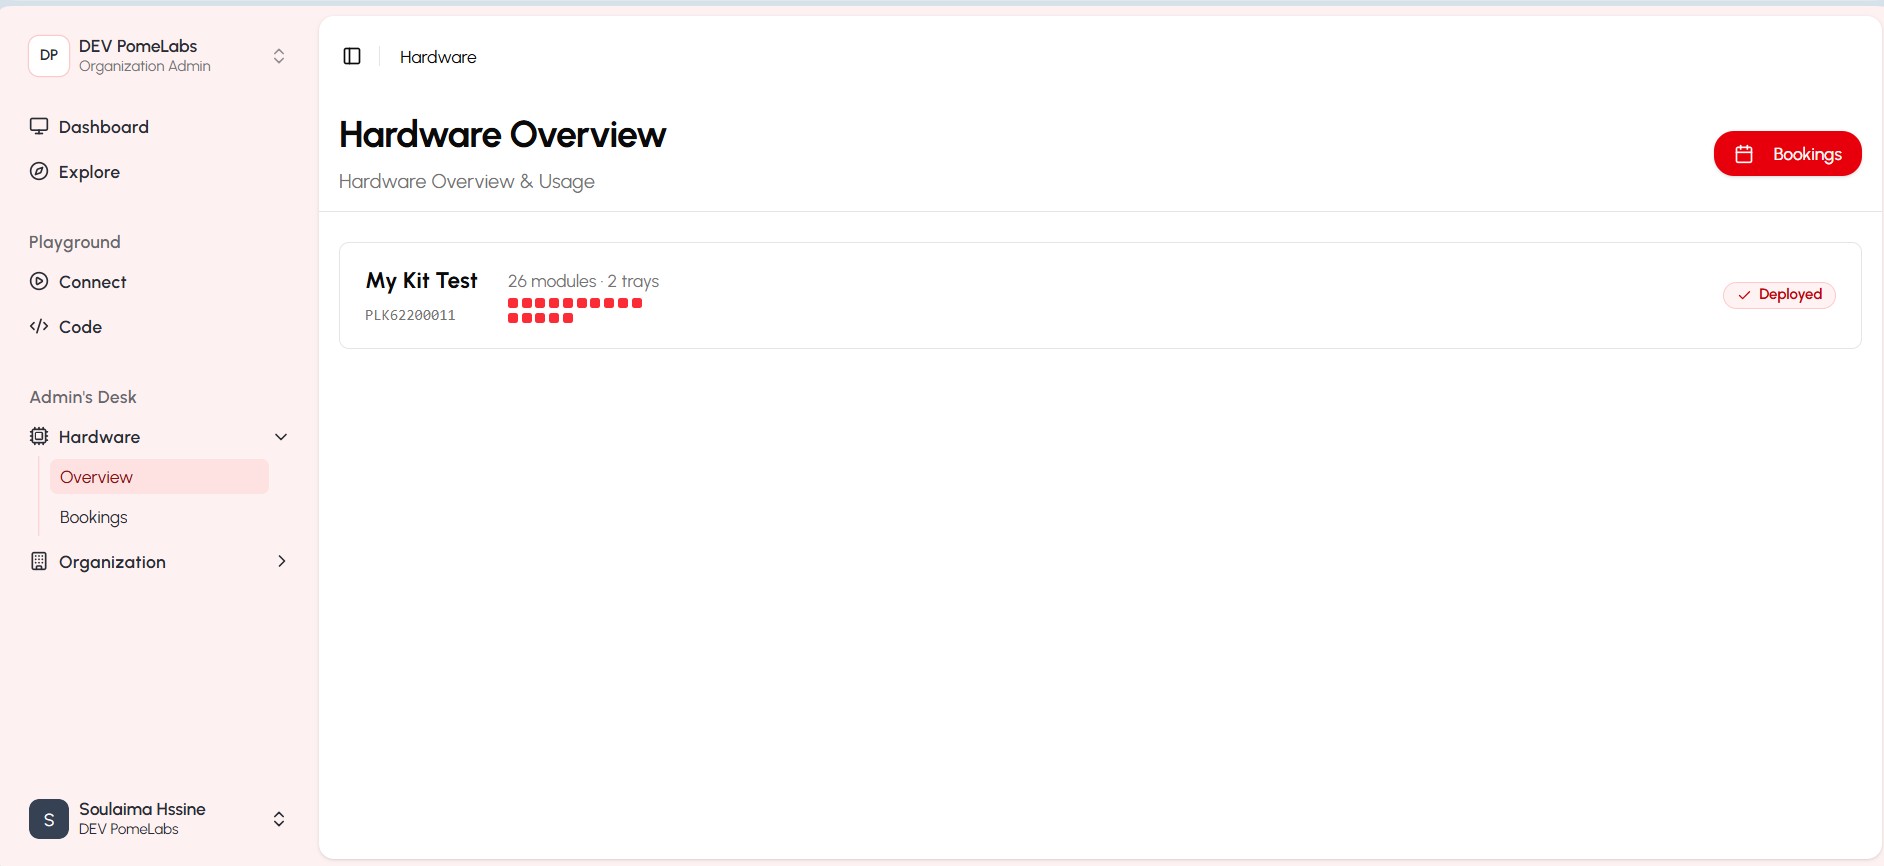
- Hardware Tracking: Track the usage and location of each kit, ensuring efficient management and accountability of the institute hardware.
Deactivating a user
To deactivate a user, click on the "Deactivate" button located in the Actions menu of the user's row.
The status of the user will be updated to Inactive and they will no longer have access to the platform.
To reactivate a user, click on the "Activate" button located in the Actions menu of the user's row.
Deleting a user
To permanently delete a user, please contact support@pomelabs.com.
How is this guide?